Perler Bead Guides
Perler bead guides help you prepare a pattern and understand how to iron your beads together. This directory currently has one published guide, covering ironing from safe setup through cooling and fusing the other side. Before you heat anything, check your chart, gather the right bead colors, and confirm your board arrangement. You can also open a pattern in the Designer, make changes, and download a copy to follow beside your pegboard.
Open Designer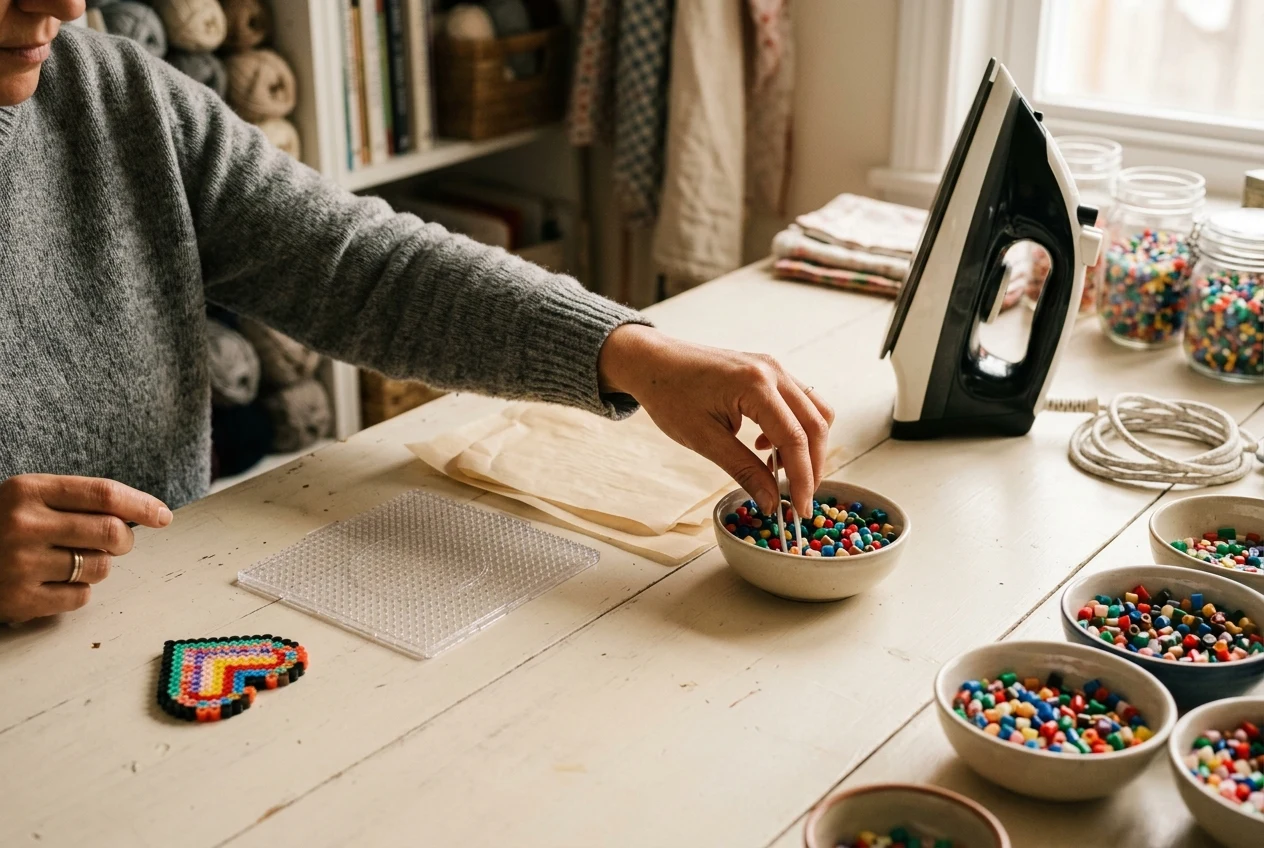
Published guides
What Does the Ironing Guide Cover?
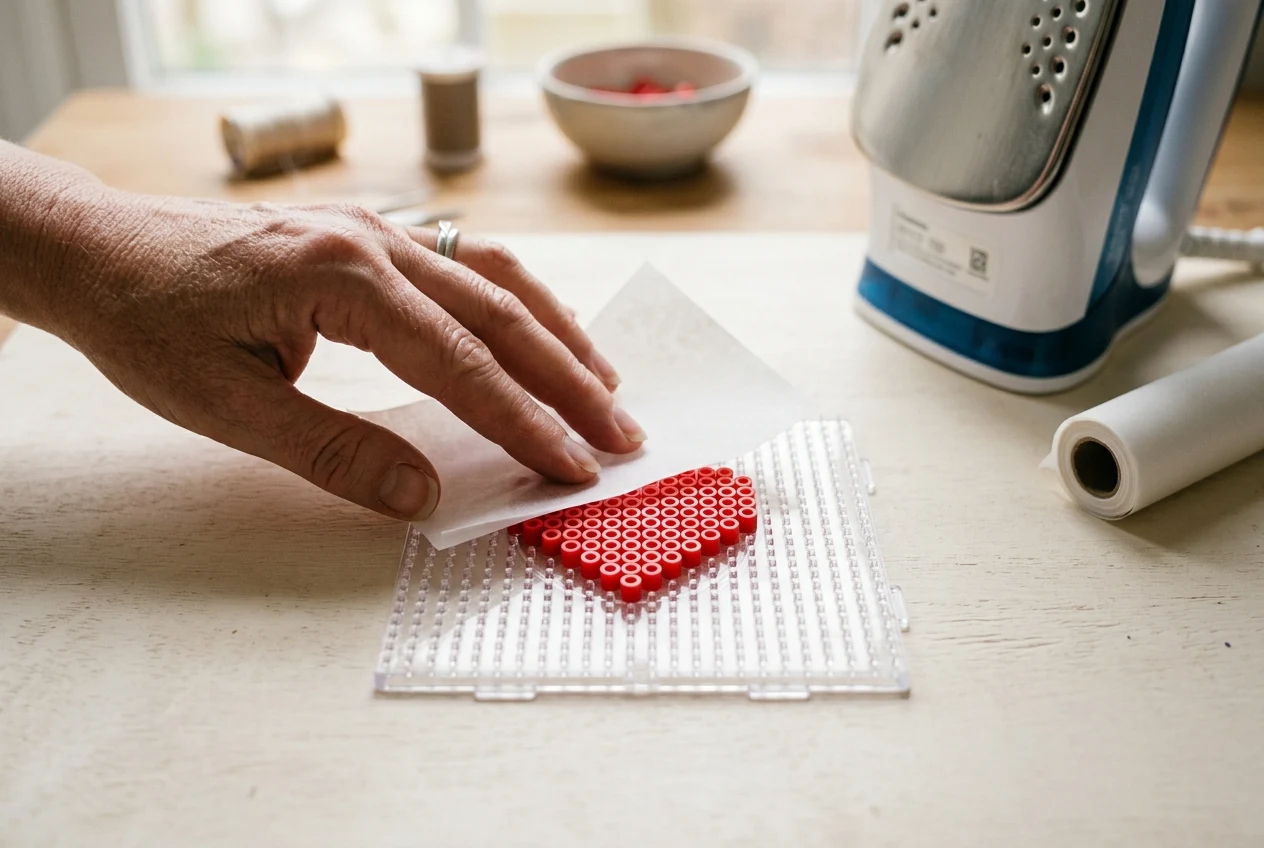
If you are looking for Perler bead guides about joining loose beads together, start with the published ironing guide. It explains how to prepare the flat work surface, cover your beads with ironing paper, move the iron, and check whether the beads are joining.
The guide also covers what happens after the first side is fused. Let the design cool before removing the paper and lifting it from the pegboard. Then turn the design over, fuse the other side, and allow it to cool completely before handling.
The target is joined beads that still have open centers, rather than a completely melted sheet of plastic. Keep that distinction in mind when reading Perler bead guides. A pattern tells you where beads belong; the ironing guide explains how to join them.
Check Your Pattern Before You Heat It
Use Perler bead guides alongside your chosen pattern, not as a replacement for its chart. Before heating, compare the beads on your board with the picture. Pick a starting corner and check each row in order so you do not lose your place.
Pay attention to empty spaces as well as colored positions. An unused peg is not necessarily a missing bead. Compare the shape with the chart before filling gaps, and check small color changes individually rather than assuming that an entire area uses one color.
Correct misplaced beads while they are still loose on the board. If you changed the design, follow your updated copy rather than the original preview. This preparation makes Perler bead guides more useful because you can focus on fusing instead of questioning bead placement.
Gather Beads and Set Up for Ironing
Before following Perler bead guides for ironing, gather your completed bead arrangement, ironing paper, and a household iron. Place the pegboard on a flat, heat-safe surface. An adult should do the fusing, with the pattern ready to check before any heat is applied.
The instructions call for medium heat with no steam and ironing paper covering the beads. Keep the iron circling without applying downward pressure. Lift the paper occasionally to inspect how the beads are joining, rather than relying only on how the covered project feels.
Keep the cooling steps in your plan instead of treating them as optional pauses. The design cools before removal and turning, then cools completely after the reverse side is fused. Perler bead guides should help you follow that order without rushing the hot project.
Choose a Pattern for Your Boards and Beads
Before you need Perler bead guides for fusing, choose a pattern that fits your available boards. A 29×29 pattern space uses one 29×29 board. A 58×58 space uses four of those boards, so check your supplies before committing to the larger arrangement.
Board space and bead quantity answer different questions. The 29×29 Pikachu pattern needs 322 beads, while the 29×29 heart needs 406. Both use one board, but neither fills every position. All approved patterns use 5mm Perler beads, so check that size when gathering supplies.
A larger board arrangement does not mean every peg needs filling. The 58×58 star uses 626 beads across four boards, while the 58×58 Pikachu uses 1,310. Compare the actual totals when planning purchases, then use Perler bead guides when your chosen arrangement is ready.
Take Your Pattern from the Designer to Paper
Perler bead guides explain the craft steps, while the Designer lets you prepare the pattern you will follow. Open an exact pattern from its preview image or the Open in Designer button. You do not need an account to work on your chosen design.
Draw or erase bead positions, change bead colors, and use undo or redo when comparing changes. The totals update as you edit. Check the revised picture and quantities together, especially if you removed part of a design or added a new area of color.
Download the pattern as PNG or PDF when you are ready to use your revised chart. Inspect the downloaded copy before printing and check that the whole design is visible. Keep it beside your board, then return to Perler bead guides for the ironing steps.
What Is Published in This Directory?
This Perler bead guides directory currently points to one published ironing guide. It is not a library of separate lessons for every pattern theme. Use that guide for fusing instructions, and use the pattern collections when you want to choose a particular design.
The Printables directory also has one published page: the blank printable bead grid. That page offers 29×29 and 58×58 grids as PDF downloads. Choose it when you want to sketch bead positions yourself, rather than follow an existing picture from a collection.
For an existing project, browse cat, flower, heart, Minecraft, Pokemon, or star patterns and check the exact design you choose. For a drawing of your own, start with the blank grid. Perler bead guides serve a different purpose: explaining what to do with placed beads.
Frequently asked questions
Open the published ironing guide from this directory. It covers the heat-safe setup, ironing paper, medium heat without steam, circular movement, and checking the beads as they fuse. Among the currently published Perler bead guides, this is the one to use for cooling, turning, and fusing the reverse side.
No, you only place beads where your chosen pattern calls for them. A 29×29 board has 841 positions, but the 29×29 Pikachu pattern uses 322 beads. Leave the chart's empty spaces unfilled. Check the actual bead total and color quantities rather than buying enough to cover every peg.
Yes, open the exact pattern in the Designer and make your changes before downloading it. You can draw, erase, change bead colors, undo, and redo while the totals update. Download PNG or PDF when you are satisfied, and check the revised copy before using it beside your pegboard.
Use ironing paper to cover the beads before applying the iron. Stick with ironing paper, as no substitute has been confirmed for these instructions. Use medium heat without steam, and move the iron in circles without pressing down. For inspection, cooling, and turning, follow the published ironing guide linked from this Perler bead guides directory.
There are 42 unique patterns: Pokemon has eleven, including six Pikachu patterns; star has nine; cat has eight; flower has five; heart has six; and Minecraft has three. Browse these collections to choose your design.
Open the Printables directory's single published blank-grid page. It offers 29×29 and 58×58 grids as PDF downloads for sketching bead positions. Return to Perler bead guides when you need instructions for fusing your arrangement.
All approved patterns use 5mm Perler beads. Check that size when gathering your supplies, and use the chosen chart for color quantities. Once your beads are placed, follow Perler bead guides for ironing instructions.
More patterns and help
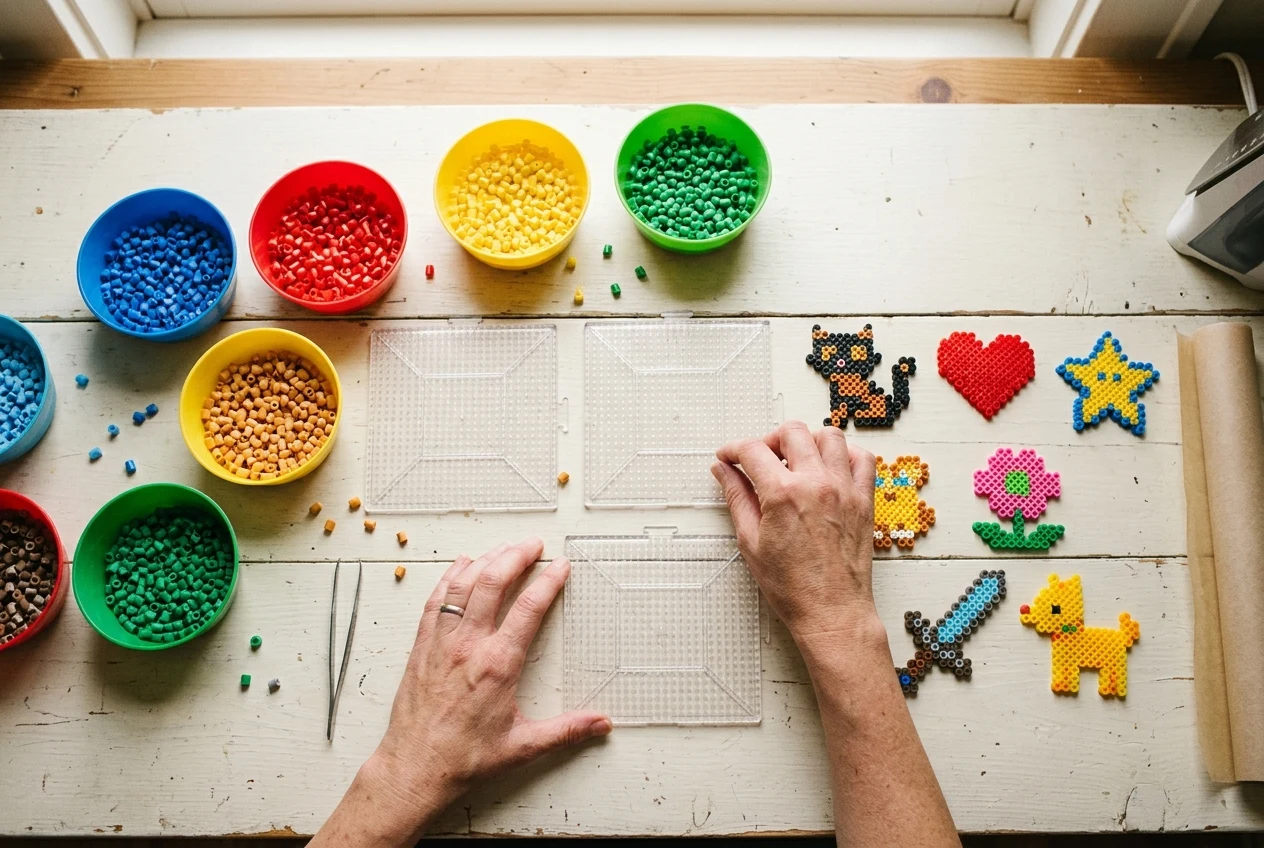

Prepare a chart that matches your beads.
Open a pattern, change its bead colors to match your supplies, and download a filled PDF to follow beside your pegboard.