How to Iron Perler Beads
Learn how to iron Perler beads so your placed design becomes a fused craft you can lift from its board. This guide covers the safe setup, ironing paper, medium heat, gentle circular movement, and cooling between sides. You will also learn what to check before adding more heat. The goal is joined beads with open centers, not a completely melted surface, so you have a clear result to look for.
Open Designer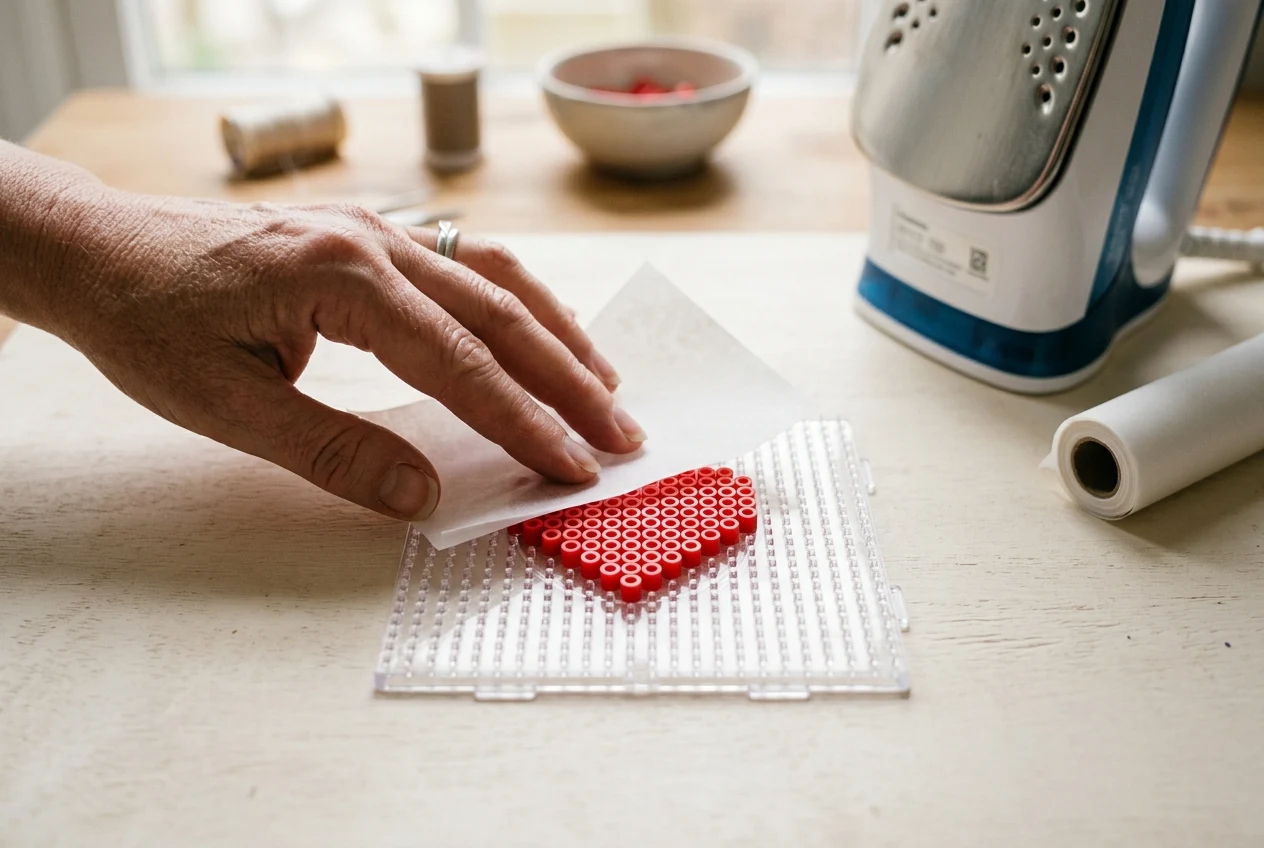
Set Up a Safe Work Area
Place your pegboard on a flat, heat-safe surface and gather ironing paper nearby. An adult should iron Perler beads.
Check each row against your pattern for missing beads, extra beads, or wrong colors while you can still move them.
Match the pattern's 5mm beads and board requirements: one 29×29 board for 29×29, or four for 58×58. Gather beads in the supplied color amounts for filled positions, rather than enough beads to cover every peg.
Cover the Board and Set the Iron
Cover the whole design with ironing paper, keeping it between the iron and beads whenever you apply heat.
Use your household iron's medium setting without steam when you iron Perler beads. Perler gives no specific temperature in these instructions.
Keep the paper in place during circular movements. Lift it occasionally to inspect the beads, then replace it before continuing.
Move the Iron in Circles and Check the Beads
Guide the iron in circular movements over the covered project. Do not press down as you iron Perler beads.
About 10–20 seconds per side is a guide, not a guarantee. Some official guides say about ten seconds; larger projects may need additional heating.
Lift the paper occasionally to check joining beads. Properly fused beads still have open centers, so don't heat until every opening disappears.
Cool and Fuse the Other Side
Let the first side cool before removing the paper and lifting your design from the pegboard.
Flip your cooled design so the unfused side faces upward. Cover it with ironing paper and repeat the gentle circular movements without pressing.
Maintain medium heat without steam as you iron Perler beads on this side. Check that the beads are joining and their centers remain open, then let everything cool completely.
Sort Beads by Color for Pikachu
For standard Pikachu 29×29, sort 196 Yellow and 92 Black 5mm beads into separate containers to prepare your supplies.
Add separate groups of 20 Brown, 2 White, and 12 Hot Coral beads. The pattern needs five colors and 322 beads total.
Before you iron Perler beads, compare your sorted supplies with the pattern and correct any shortages or color mix-ups.
Get Your Pattern Ready for Ironing
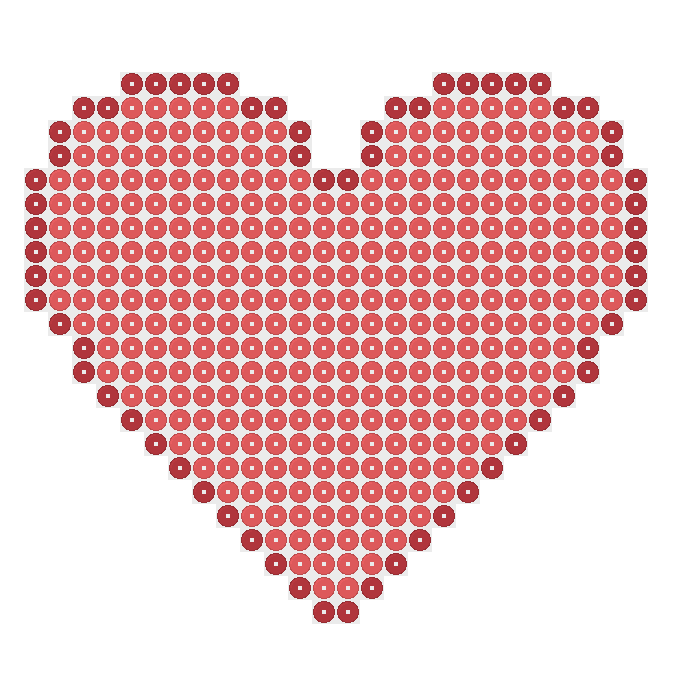
The heart 29×29 pattern needs 406 5mm beads: 66 Red and 340 Hot Coral. It fits one 29×29 board.
Open the same published pattern in the homepage Designer, or download its chart as a PNG or PDF. Compare the chart with your board before applying heat.
Blank 29×29 and 58×58 grids download as PDFs for one or four boards. Count filled positions and compare your board before you iron Perler beads.
Try these bead patterns
1 pattern
Frequently asked questions
Use the medium setting on a household iron, with no steam. Cover the project with ironing paper before applying heat. Move the iron in circles without pressing down, and lift the paper occasionally to inspect the beads. The instructions give a setting, not a specific temperature in degrees.
About ten to twenty seconds per side is the guidance, but some designs need additional heating. Check how the beads are joining rather than treating the time as a fixed stopping point. Their centers should remain open. Let the first side cool before turning the design over to fuse the reverse.
Use ironing paper for the method described here. Perler's instructions specify that covering, and this guide does not have verified instructions for a substitute. Place the paper over the bead design before heating. Whenever you lift it to inspect the beads, cover the design again before continuing with the iron.
No, properly ironed beads should still have an open center. The aim is to join the beads, not heat them until every hole disappears. Lift the paper occasionally to check their appearance while fusing. Follow the cooling and turning steps, then use the same open-center target on the other side.
An adult should do the fusing, according to Perler's official instructions. That means the adult operates the household iron for the first side and again after the cooled design is turned over.
Place the pegboard on a flat, heat-safe surface. This is Perler's stated setup before ironing: the board rests on that surface, and ironing paper covers the bead design before heat is applied.
No. Perler's instructions explicitly say not to press down with the iron. Move it in a circular motion over the paper-covered project instead, lifting the paper occasionally to see how the beads are fusing.
More patterns and help
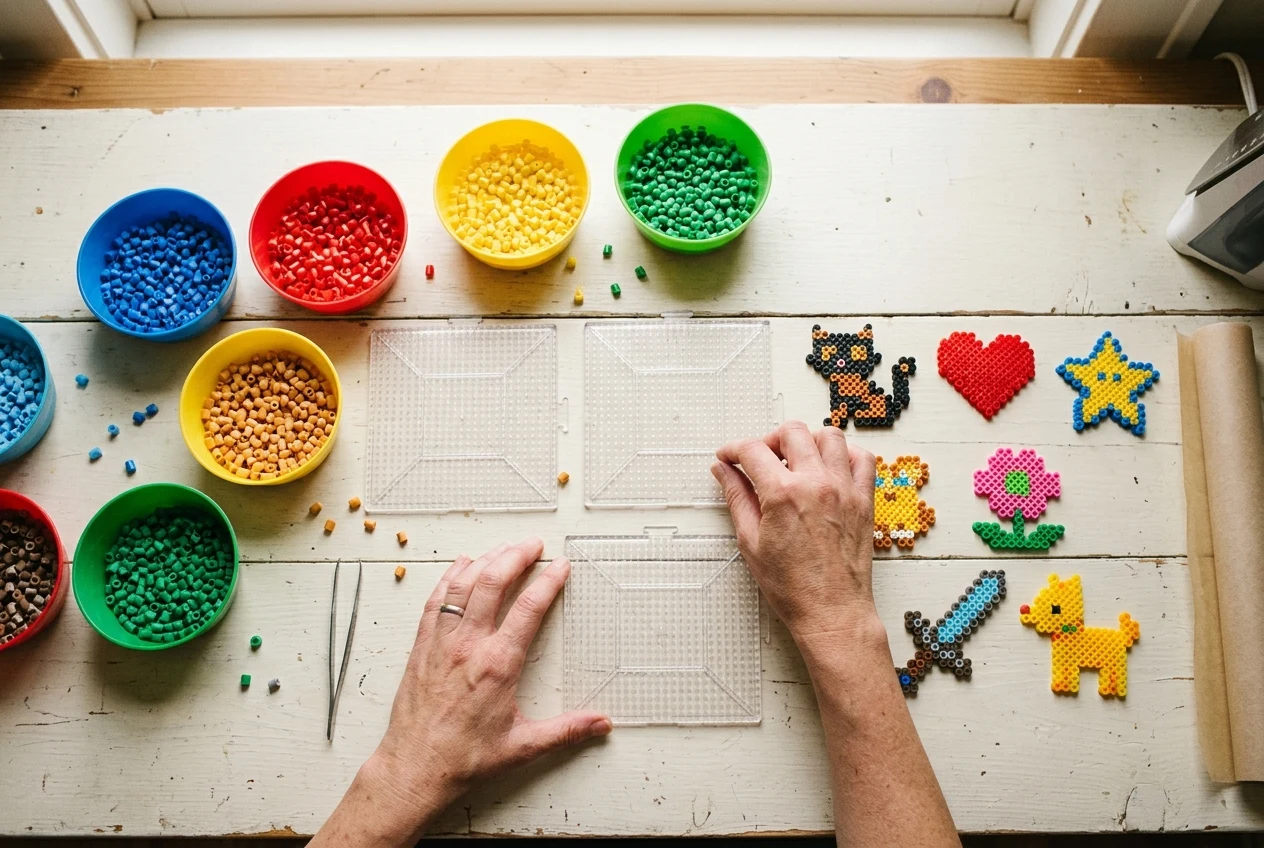
Perler Bead Patterns
Choose your next design by comparing bead totals and board needs before laying out beads for ironing.
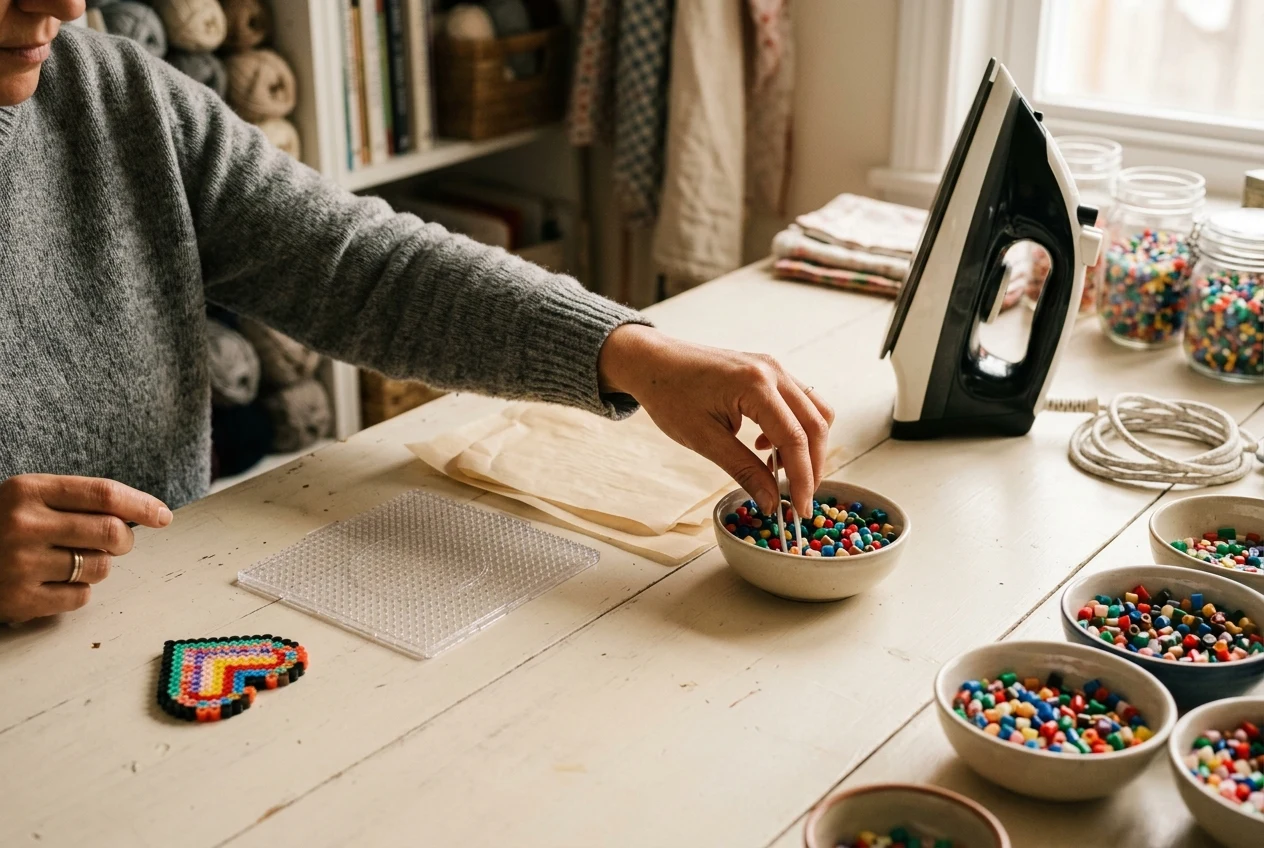
Perler Bead Guides
Find the ironing guide for paper placement, medium heat, gentle fusing, turning your piece, and safe cooling.
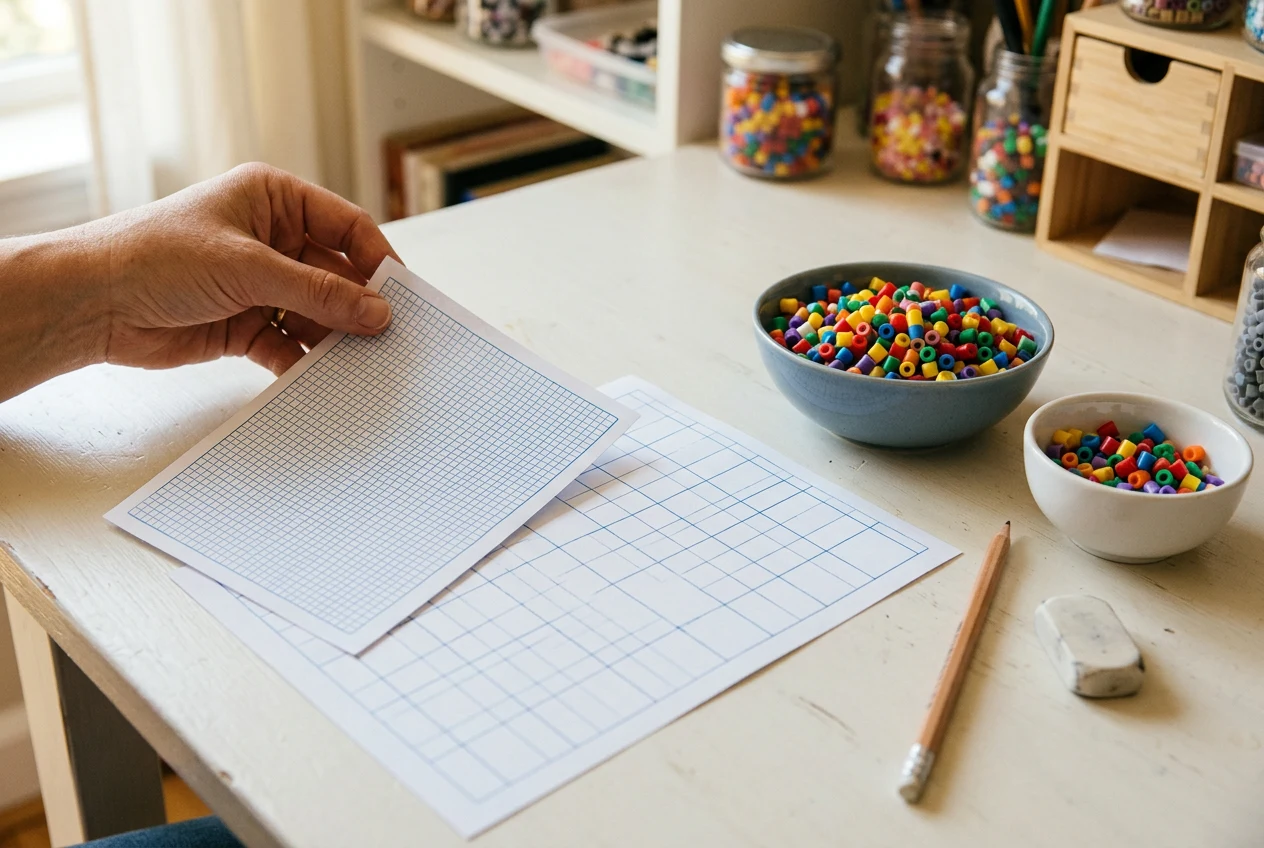
Perler Bead Printables
Sketch your next piece on a 29×29 or 58×58 PDF grid before arranging beads to fuse.
Check your bead chart before heating.
Load an existing pattern, correct misplaced beads, and download its filled PNG or PDF to compare with your board before ironing.